How to run a test of lpdspooler.
This walk through will give a user an understanding of how to run the lpdspooler. It
will also show how to
setup a printer (in Windows 2000) to print to the lpdspooler and how to setup a printer
(in RedHat Linux 9.0) to print to the lpdspooler. Of course
the point of the lpdspooler is to capture print jobs so that you (the
programmer) can do something with the print jobs before printing
them. Some uses I have had are:
- forward print jobs to another program using a proprietary
protocol
- modify print job and then forward it to a JetDirect network print
server attached to a real printer
- write print jobs to disk or to a database
- combine print data into one large print job and then send it to a
network printer
Running lpdspooler
- Download the latest release of lpdspooler from sourceforge
project site.
- Extract release contents to a directory of your choice which we
will call lpd_direcotry.
- Add the "log4j" JAR (found in the lpd_direcotry/lib directory) and
"lpd" JAR
(found in the lpd_direcotry/dist/lib)
directory to your CLASSPATH
- Run "java org.simoes.lpd.Main" from the directory where you
extracted lpdspooler (the lpd_direcotry).
This is important because lpdspooler looks for the 2 configuration
files "logConfig.ini" and "lpd.properties". The default setting
in these files should be fine.
- lpdConfig.ini - is used to configure logging from lpdspooler
- lpd.properties - is used to configure lpdspooler's settings
- For me on Windows my command line looks like this below all on
one line, again be sure to run
from your lpd_directory:
C:\Chris\Java\Projects\lpd-0.5.4>java -classpath
"C:\Chris\Java\Projects\lpd-0.5.4\lib\log4j-1.2.8.jar;C:\Chris\Java\Projects\lpd-0.5.4\dist\lib\lpd-20031206.jar"
org.simoes.lpd.Main
- Install a printer to print to the lpdspooler.
Installing a
printer to print to the lpdspooler (Windows 2000)
Begin by clicking on the "Add Printer" wizard. Since a picture is
worth a thousand words, these should show you what you need to do.
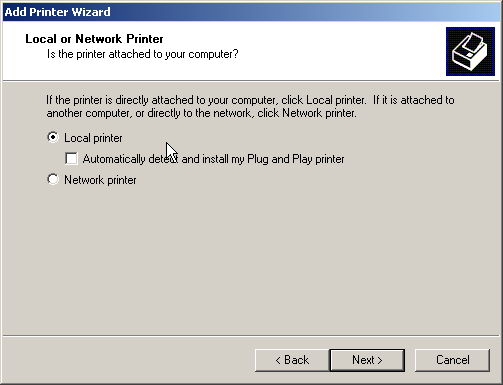
Choose Local printer, do not
automatically try to detect it.
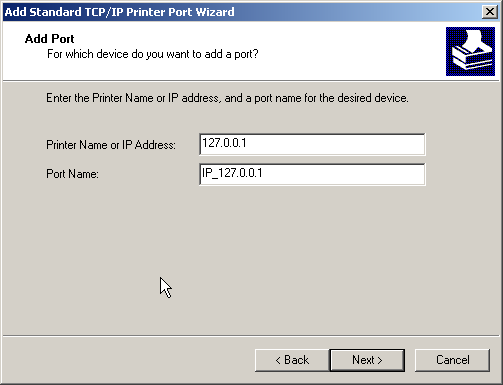
Create a new Standard TCP/IP port.
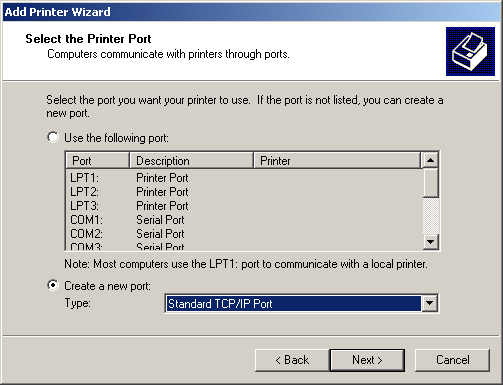
This will launch the Add Standard
TCP/IP Printer Port Wizard.
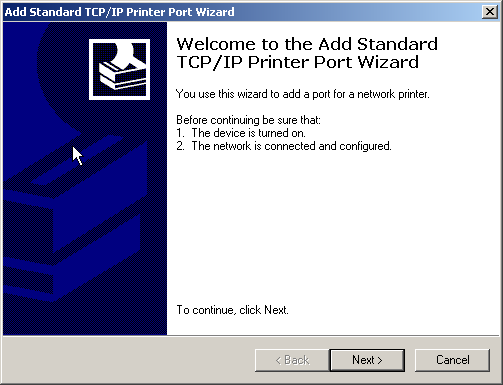
Enter the IP of the box running
lpdspooler, just use the loopback IP for your box 127.0.0.1
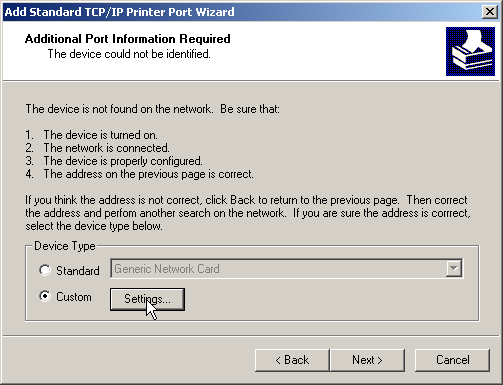
Choose Custom and click on the
settings button.
Configure the protocol for LPR
printing, the Queue name to RAW.
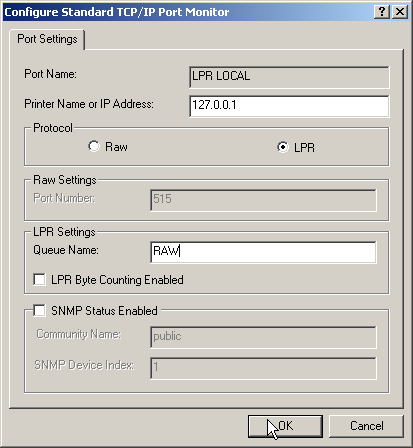
Click Finish to add the port, and
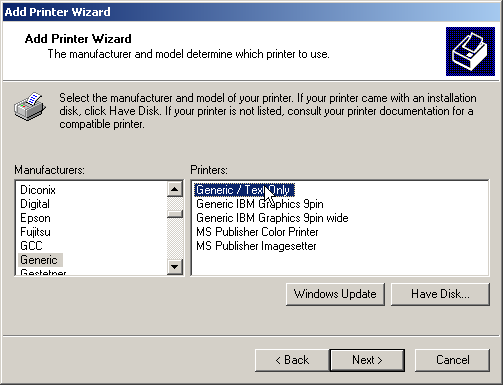
then for this example just add a Generic Text printer.
You can use any printer type you like
in practice.
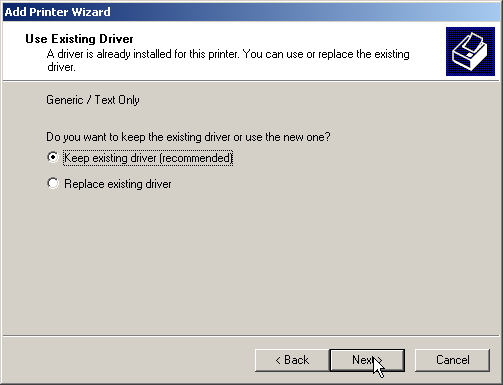
Might as well keep the existing
driver, but it really should not matter.
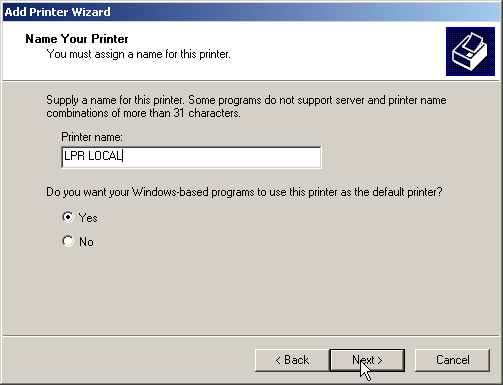
Name your printer something and
choose if it will be the default printer or not.
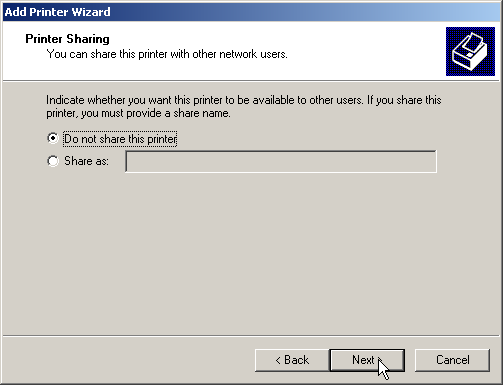
Choose if you want to share this
printer.
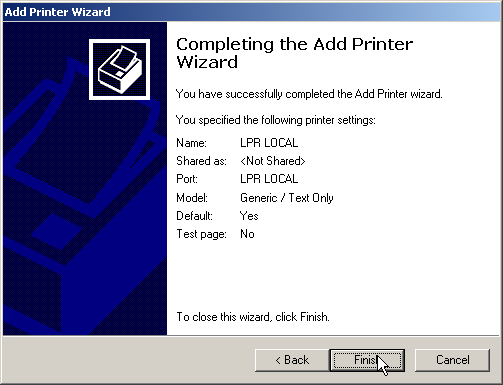
Choose to not print a test page.

Click finish.
Now if you open up a document in Notepad you should be able to print to
the printer you just created. These print jobs should show up in
the lpdspooler.
Print to the
lpdspooler in Linux (RedHat 9.0)
The following shows how to setup a print queue using RedHat Linux
9.0. However, the only really important piece here is that you
setup your LPD print queue with the correct IP and QUEUE name. To
be even handed pictures follow:
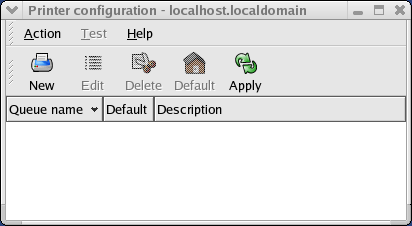
Click New in the Printer configuration
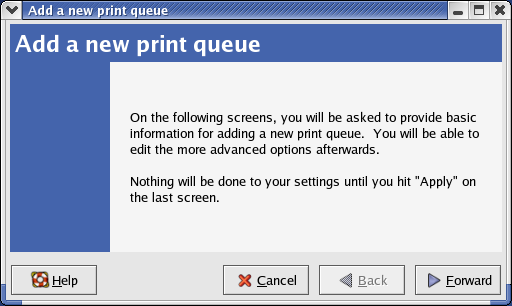
Click Forward
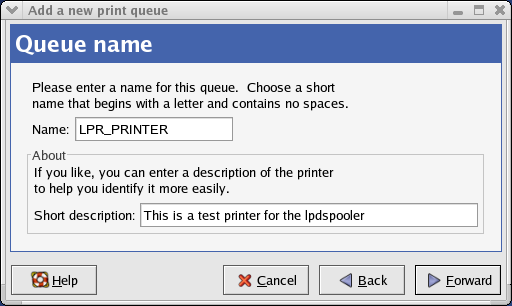
Enter a Name here to identify this
printer on the Linux box (can be anything).
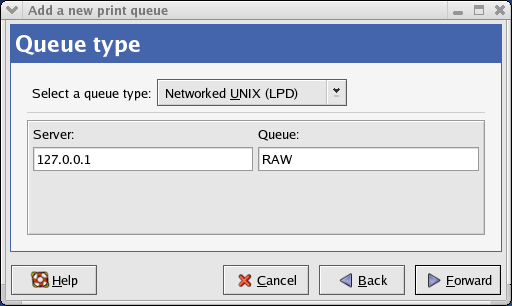
Select "Networked UNIX (LPD)" as the
queue type.
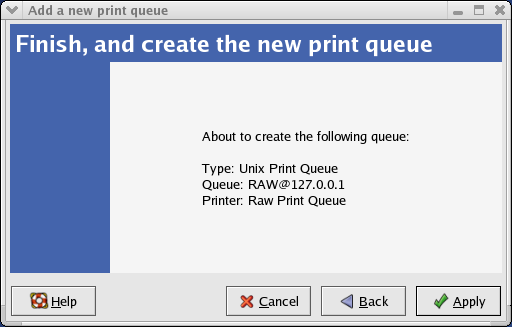
For our example set the server to 127.0.0.1 and the Queue to RAW.
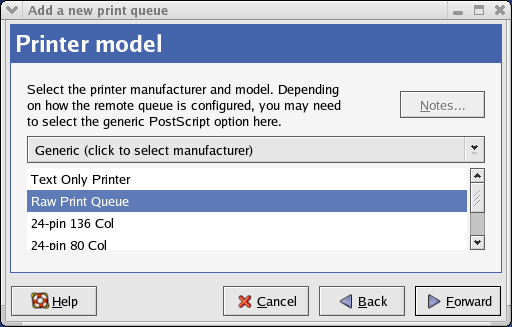
Choose the Raw Print Queue printer
model.
Click Finish.
Now if you send a print job to this printer, it should show up in the
lpdspooler. You can either use a text editor with your version of
linux, or the command: "lpr -P LPR_PRINTER testFile.txt" worked for me.
Back to home page.